Polo photography; tips for photographers
One question I often get asked about is polo photography, and ‘how to get better images’. In my role as the official photographer for Cowdray Park Polo Club, I probably should know the answer to that one, but like any art form, photography is subjective. My idea of better images maybe completely different to yours, but I’m happy to share with you how I do things.
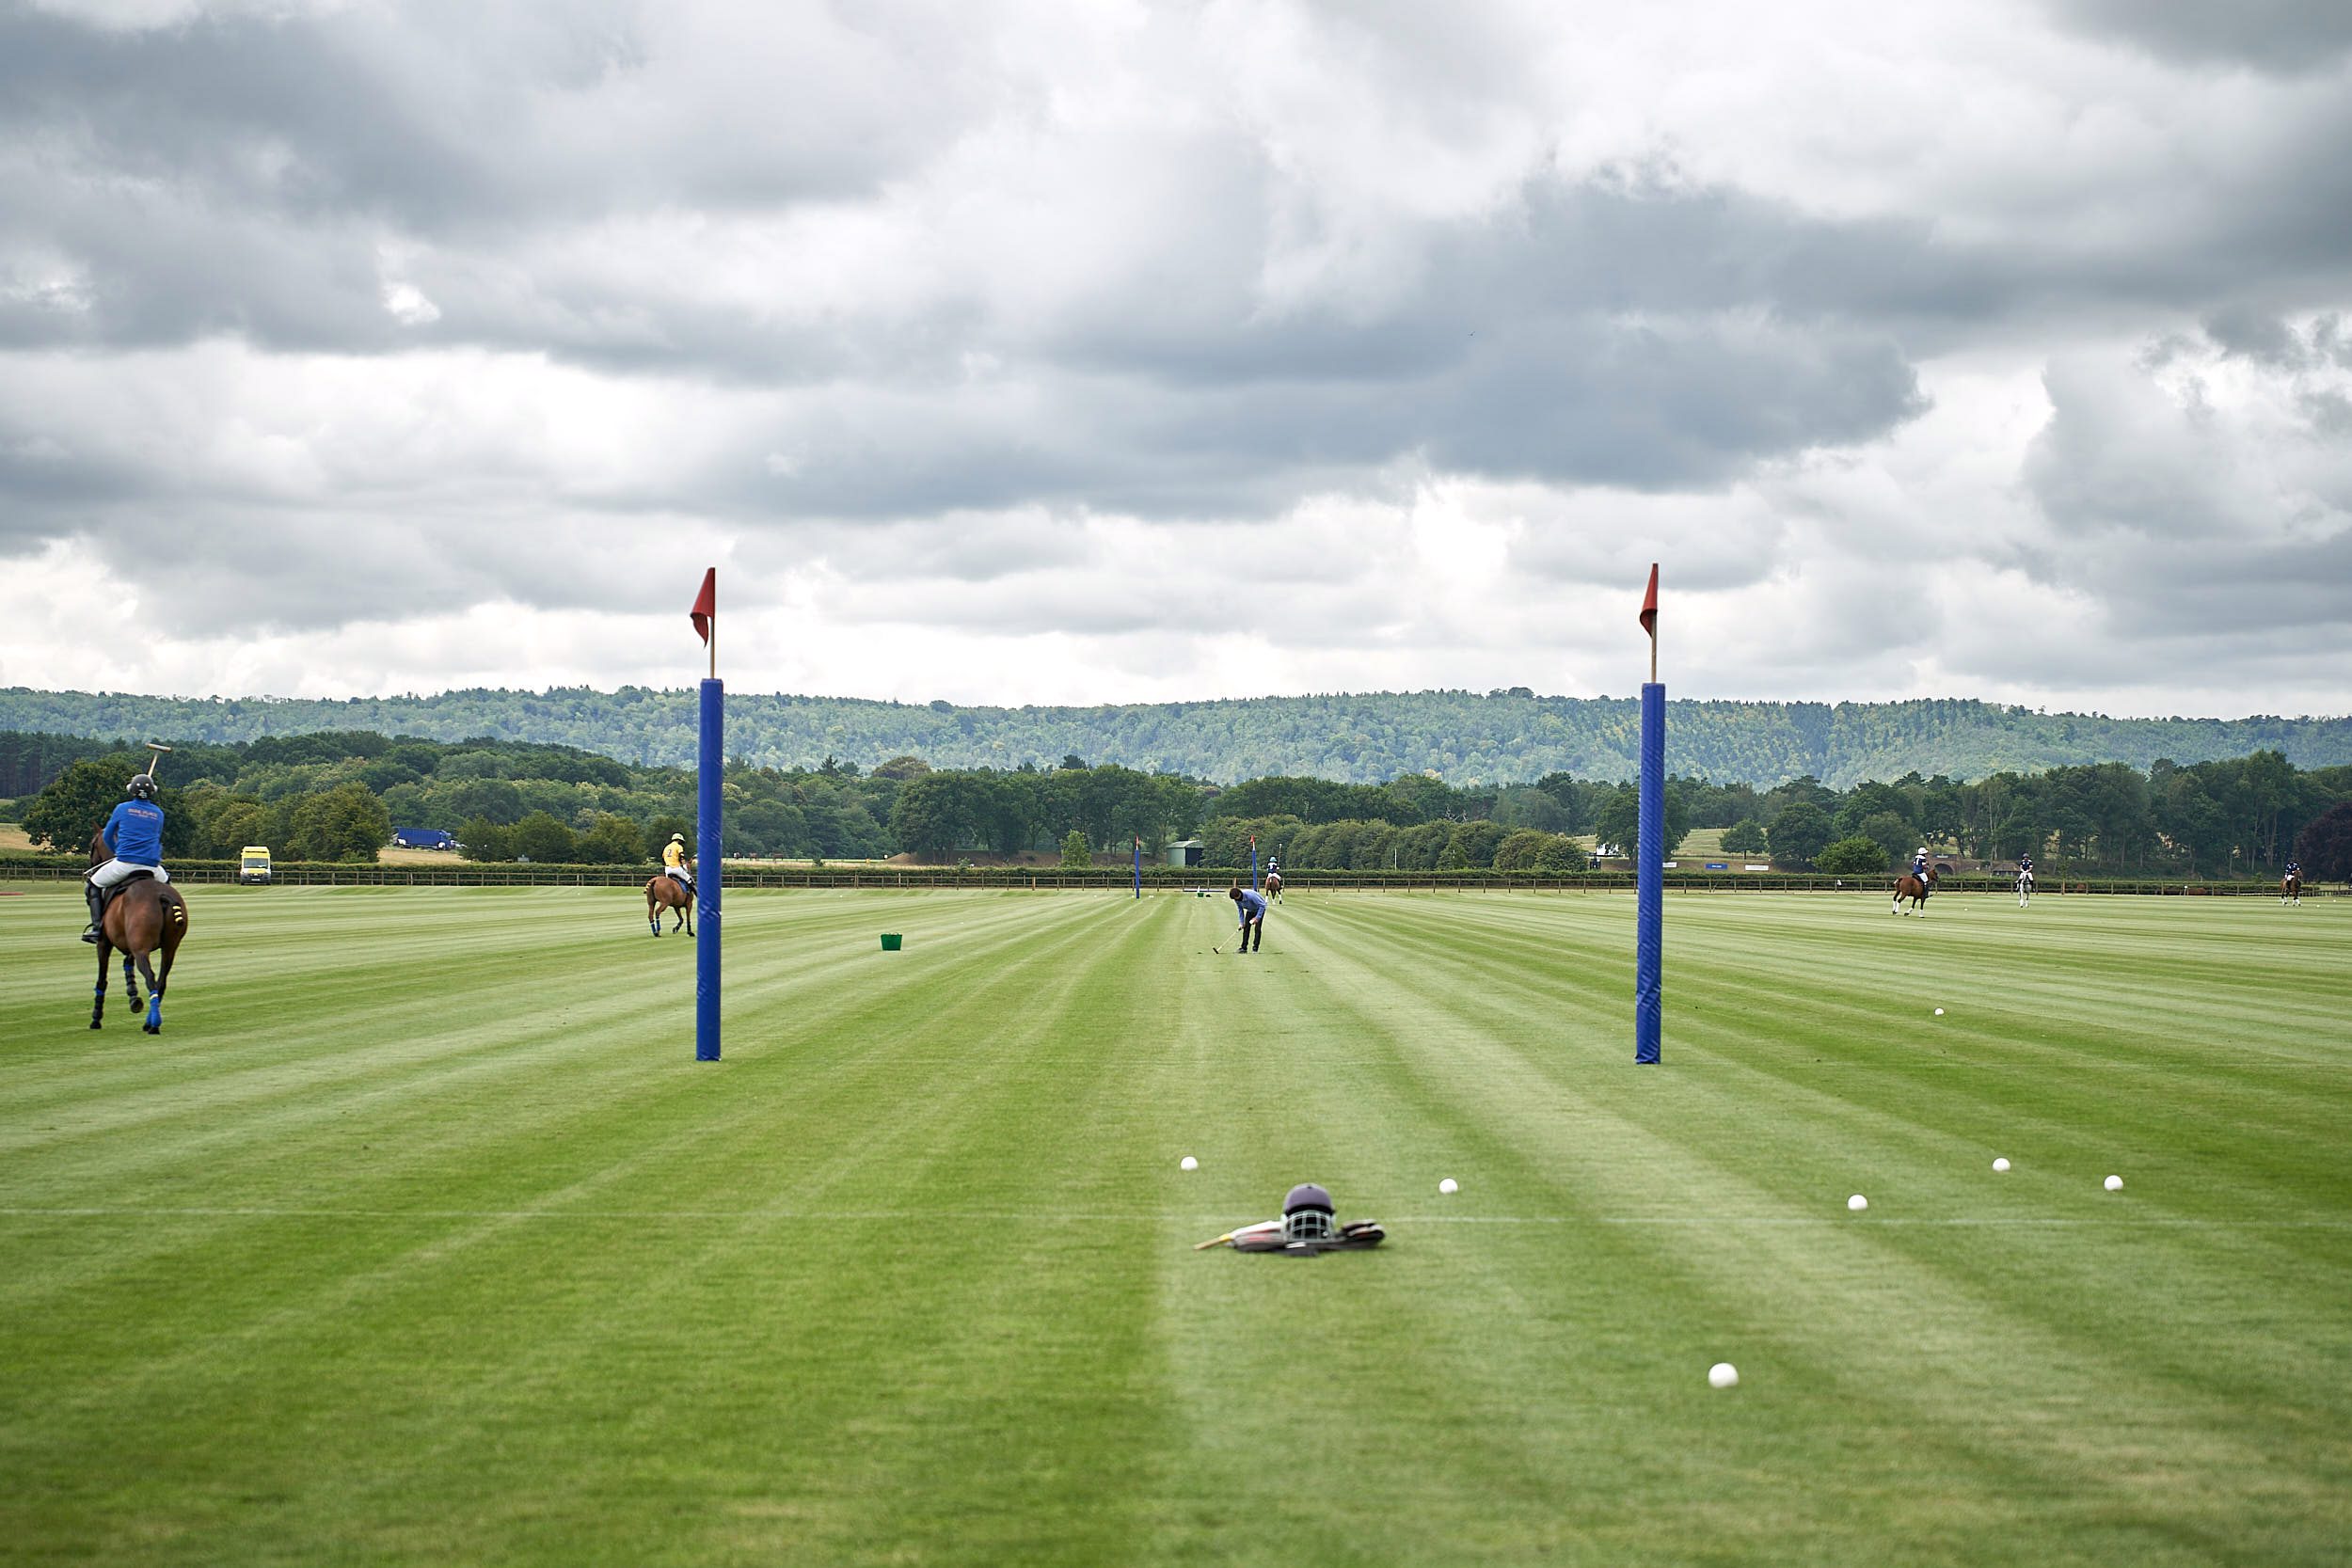
If you’re reading this I’m assuming you have some idea of the game and the enormity of the size of a full sized polo field, and that no lens is going to be able to cover all the action at any one time. If you didn’t already know, the pitch size is 160 yds by 300 yds, about 4 times the size of a football pitch.
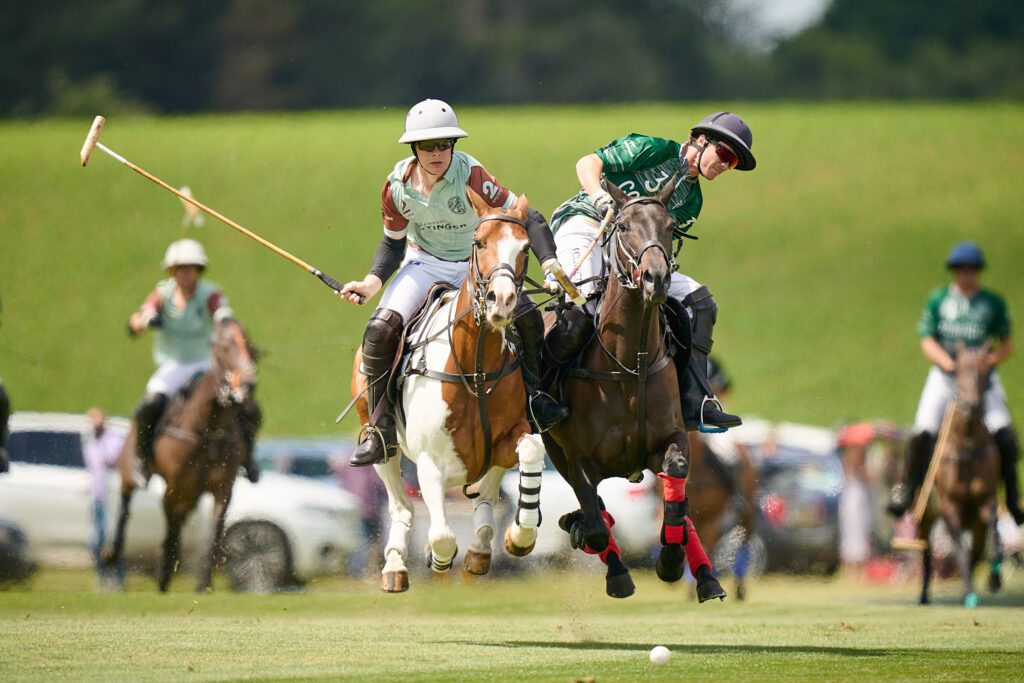
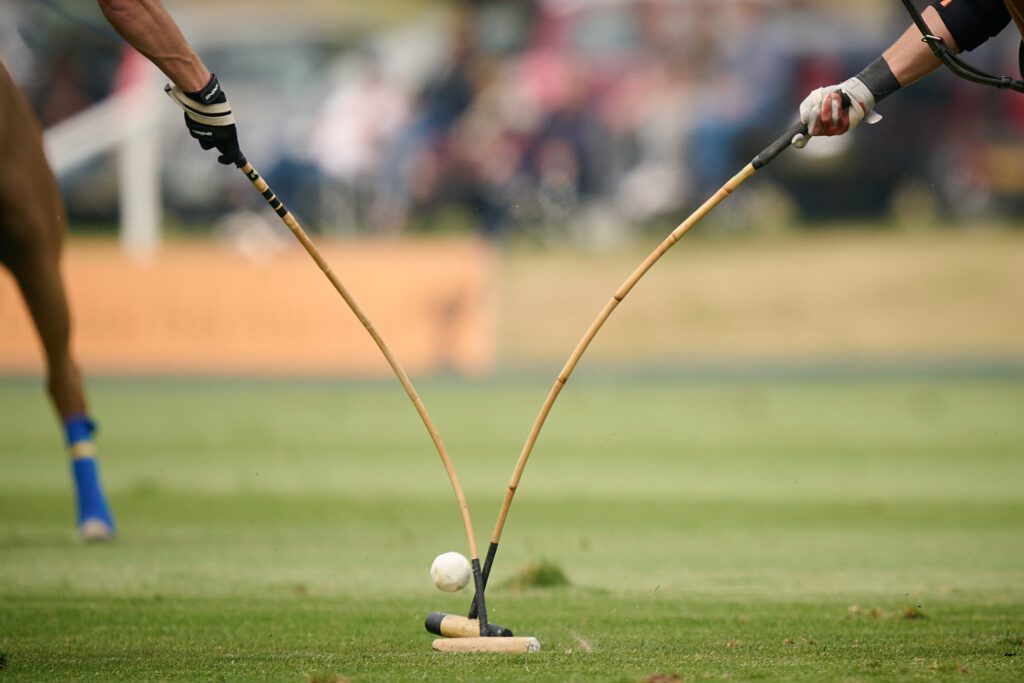
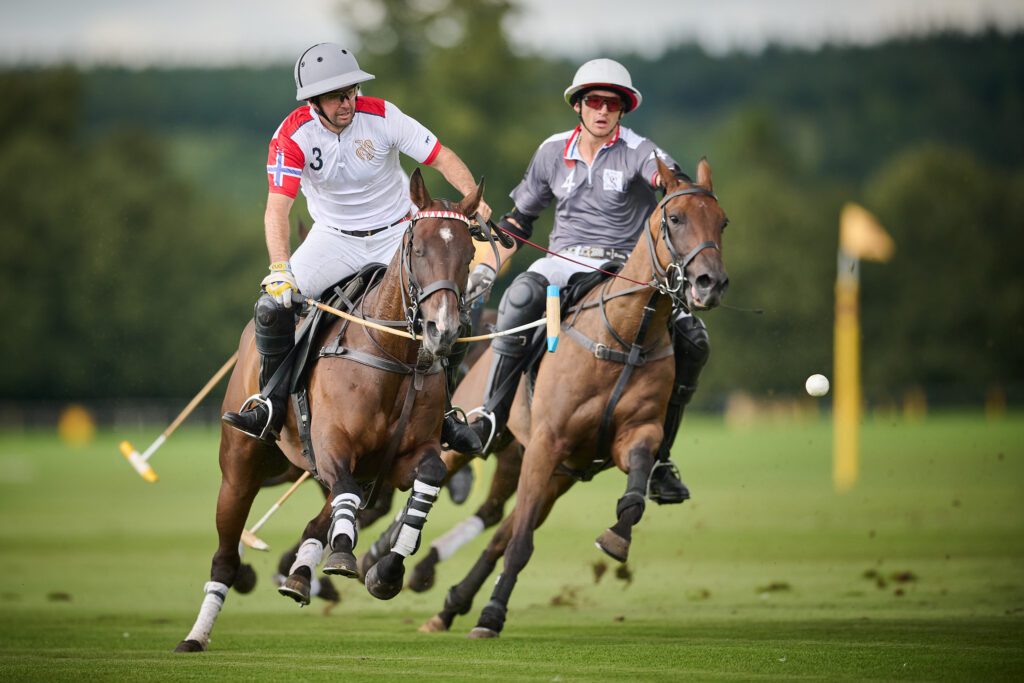
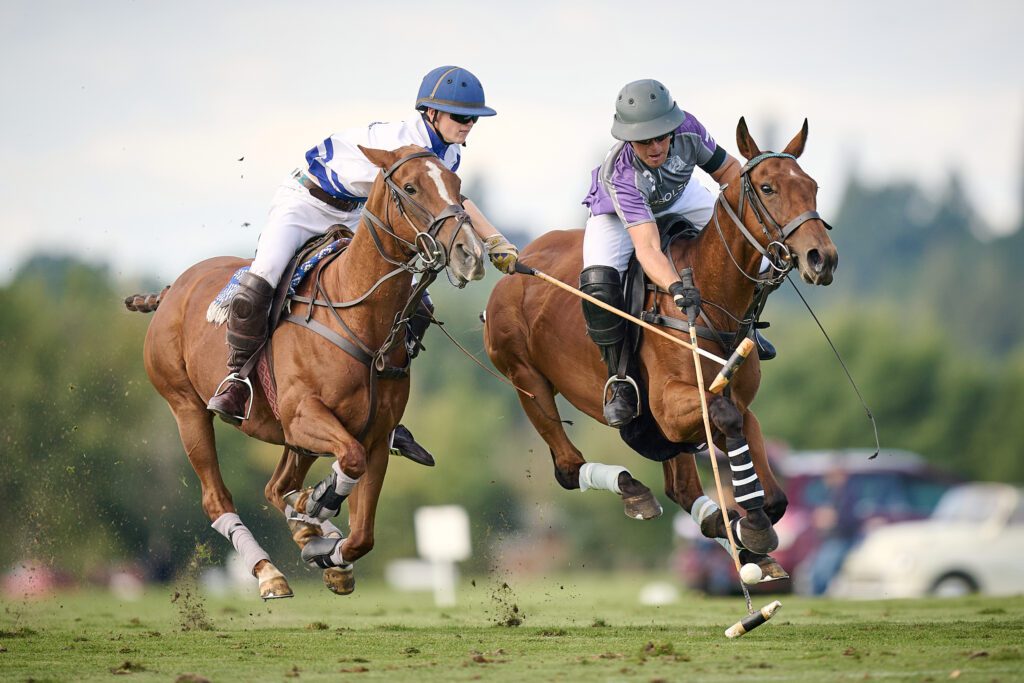
Polo photography, to a certain extent, is a waiting game, and the moment you decide all the action is happening somewhere else on the field and you move, there’s every chance the action will move to where you were originally. So choose a good spot and stay put and wait; where’s a good spot? Totally up to you, but it will partly be decided by the focal length of your lens. if you want the drama of two players trying to ride each other off the line of the ball, you’re going to need a fairly long lens, over 200mm. If you’ve only shorter lenses you’ll get some good side on shots if you stay on any of the spectating areas that are on the ground, (not from seating platforms). In my opinion polo is best shot from ground level, and no higher than you own eye line.
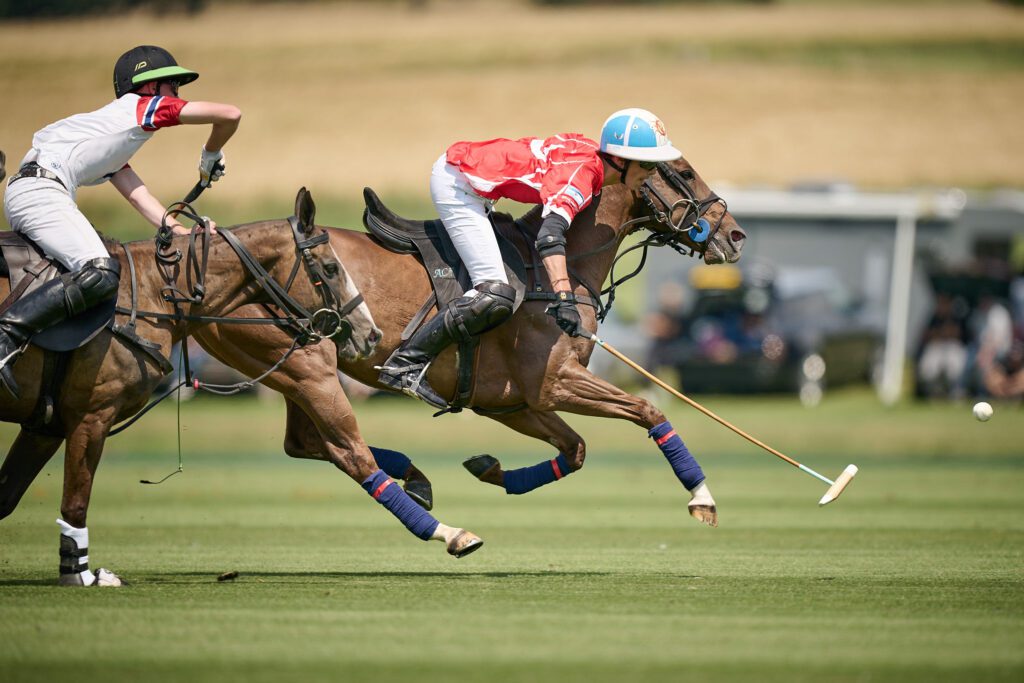
I should add at this point if you intend on being anywhere other than where the general public and spectators are allowed, you need to have permission from the club, and preferably relevant insurance. Remember if you cause an accident and a horse gets injured, it’s going to be potentially very expensive! Often you’ll find polo photographers choosing to go down to the goal line, the same line as the Goal Judge. This can be a little dangerous and a tad scary at times, but as long as you don’t move when you have players coming towards you at full gallop, there’s a reasonable chance for both you and the players to come off unscathed. If you remain where you are generally the player will see you and try and avoid a collision, but there’s no guarantees, so be warned. I tend to not go down to the goal line much as I prefer to avoid shooting from wherever I see another photographer, not because I’m being unsociable, but I’d rather not be getting the same images as everyone else.
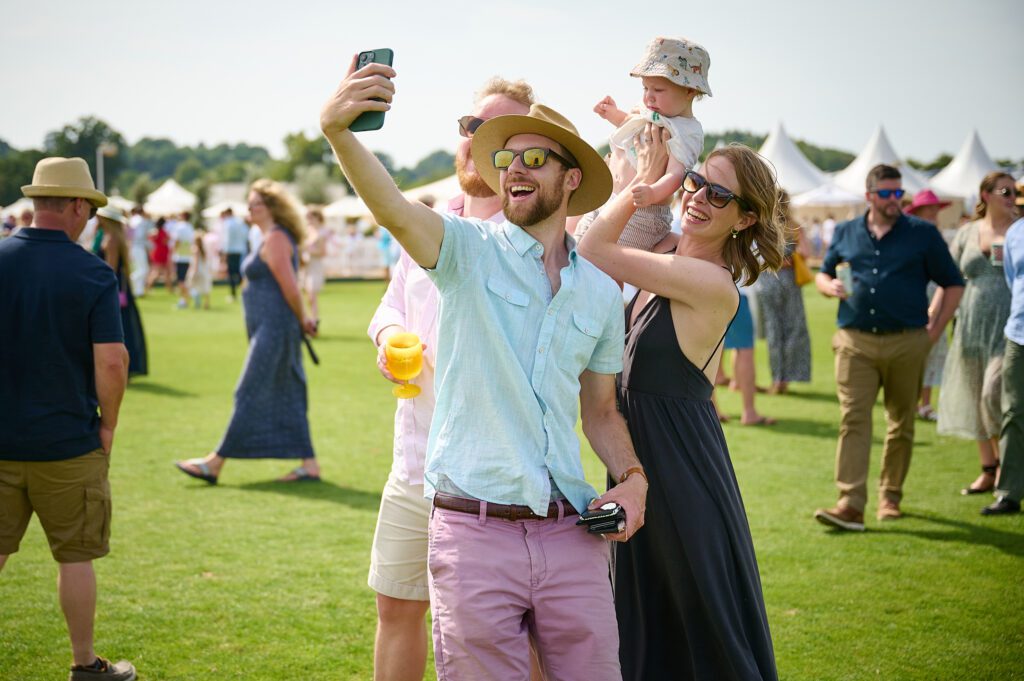
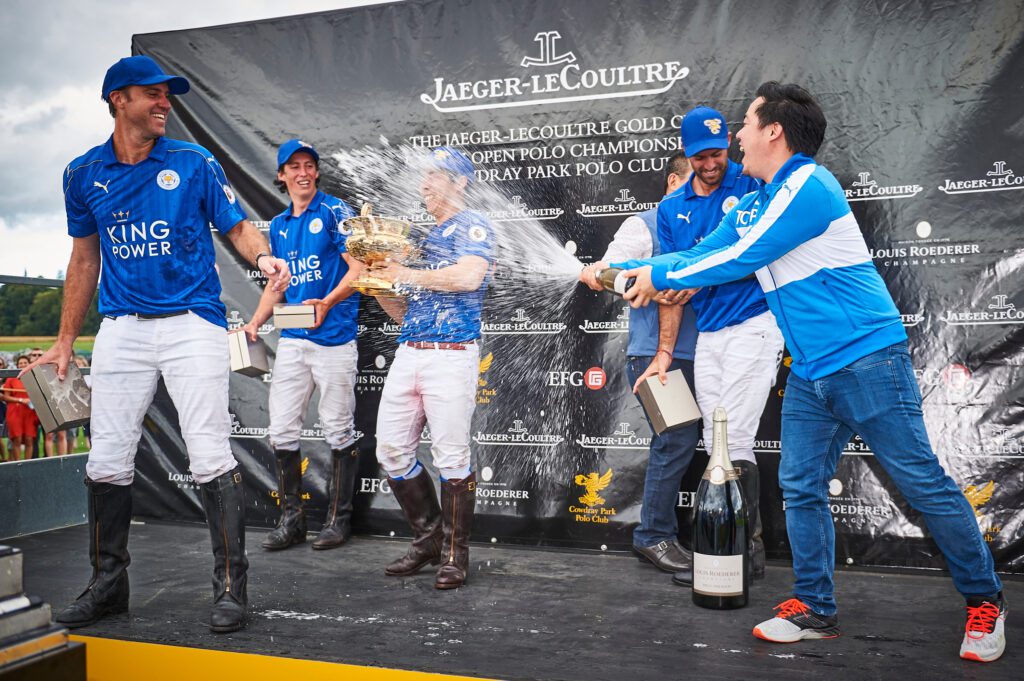
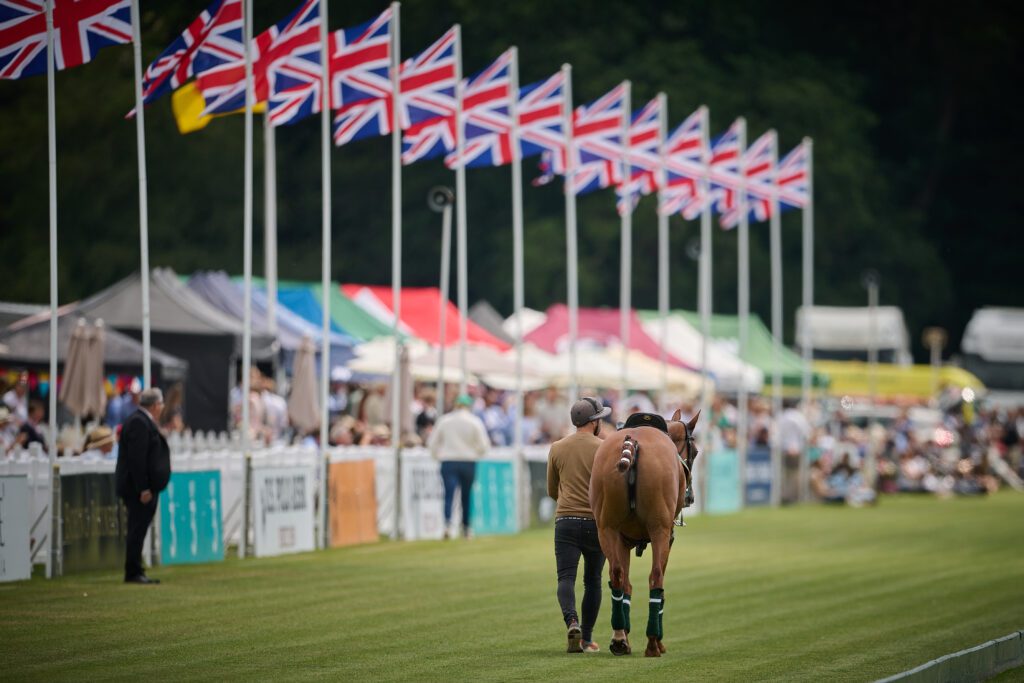
Don’t forget Polo Photography is not just about the action, there’s also lots of sideline action too, and for some clients this can be just as important as the action shots. I prefer to get close rather than long lenses but you do have to choose your timing, and be aware a loosing team may not be in the mood to have their picture taken.
Equipment It’s a long story, but currently I’m shooting with Sony A1 mkII’s. Originally I used to shoot with Nikon kit, mostly because my first camera was a Nikon and I’d stuck with them ever since. However over the last few years I’ve flitted around with Nikon and Sony systems, and finding neither one as the perfect system for me. They each have their benefits and drawbacks but ultimately I’ve gone with Sony simply because everything is lighter. If I didn’t have to carry kit around or shot with a monopod or similar support, I’d have stayed with Nikon.
If I’m honest, I don’t particularly like the ergonomics of the Sony bodies but adding Smalllrig grips has been a big help. I shoot handheld, and for all my action shots I now use the A1mkII and mostly fast aperture prime lenses too. The Sony A1mkII is unbelievably accurate and the fastest focussing camera I’ve ever used, and now with the updated menu system they’re much more user friendly. It does come with a considerable price tag though, but worth it if you do this professionally. When I first went to photograph a polo match at my local club, I had a full frame body (Nikon D700) with a 70-200mm f2.8 lens, but It didn’t take me long to realise this lens was not long enough.
So I picked up a second hand, a pretty knackered 300mm f2.8 and I used that combined with 1.4 convertor, so giving me 420mm but the convertor meant I lost 1 stop making it an f4. I really liked this combination, but as the lens had a quirky habit of deciding not to focus at very inopportune moments, it had to go. I felt the loss of the extra stop did make a difference too, especially when shooting in very dull light and before shooting at high ISO was as good as it is now. So when it came to getting a new lens I got the Nikon 400mm f2.8 and paired that with a Nikon D5. Unusually for polo photographers, and often to everyones else’s surprise, I don’t use a monopod. I sit on the ground, or a very low stool, and hand hold. This gives me far greater movement to be able to react quickly to what’s gong on around me and to be able to recompose the shot without the monopod getting in the way. I have tried many times with the monopod, but I just didn’t get on with it, and yes, my arms do ache!
Shooting technique Turn everything on to auto and “SPRAY ’N’ PRAY”!!….no?……oh ok, but seriously with a modern camera that could be a way forward and chances are you’d get some great shots, but if you’re shooting professionally and need to be able to deliver images consistently and not down to chance, you’ll need a different approach, and this is mine.
I always shoot the action shots wide open, so f2.8 in my case and in aperture priority, whilst making sure my shutter speed doesn’t drop below 1600th sec. If you’re shooting from the side of the field and the players are moving across your line, you may want a faster shutter speed. Why AP mode?…… why not?, it’s an amazing piece of technology you have in your hands, why not let it do its job? The important thing to know is how and when that bit of technology, might fail or more likely, be fooled.
The most likely problem you will have is that the light meter will not be able to read the situation correctly. I’ve set a custom setting on my camera bodies that allow me to use the rear wheel to quickly, and more importantly without taking my eye off the action, dial in exposure compensation. I’m not going to go into how and when you’d use this, as I’m assuming you’re already a competent photographer, and somebody else has probably already done a far better job of explaining it than me anyway.
I shoot in AFC (Continuous focus mode) with one focus point selected, which I’m continually moving as necessary. I also have it set so it doesn’t re-adjust focus when something momentarily moves into frame (like a groom deciding to warm up a horse in front of you, (ARGHH! why do they do that??!!) One thing I don’t use is back button focus, it’s utterly pointless for my style of shooting. If you continually focus and recompose or just like pressing two buttons instead of one, then it will suit you perfectly.
I also don’t shoot with a high burst frame rate, simply because it makes editing so much harder, it’s far better and easier in my opinion to time your shots so you don’t have to shoot so many frames. It’s worth mentioning that you can often get some great sideline images too, and indeed some clients will want this as a priority over the action shots. So for this I have a second body with either the Sony 28-70mm f2 or sometimes if I have a little more leeway, I’ll put on my favourite lens the Sony 85mm f1.4 prime.
Processing This bit is a real quicky, but unlike a lot of other sports, no one wants the images so quickly that they need to be done pitch side with a laptop. So I always shoot raw files, and when I get home I download to Capture One Pro and put the images into the correct folder, and then just whiz through the shots and “pick” the ones I want to keep. These then get put then into a separate folder, which I just go through editing as necessary, this is usually just a crop and straighten, (sloping horizons, my absolute pet hate). Once that’s done I export at the required size for the client and upload to either my gallery or their server, which generally means the images are up and done before the end of the day, albeit around midnight! Oh, and one more thing, back up, actually I mean two more things, back up, and back up again somewhere else; ideally you should back up to an onsite device and then have another copy offsite for extra security.
You can see more of my polo images here
Oh, and always be alert, you never know what can happen!!……

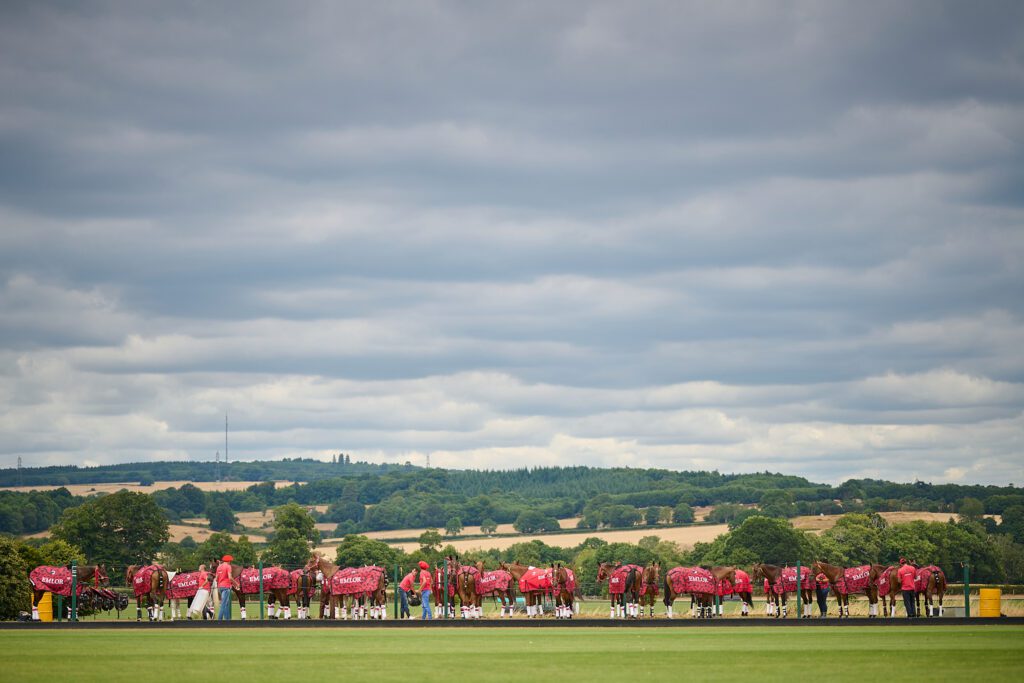
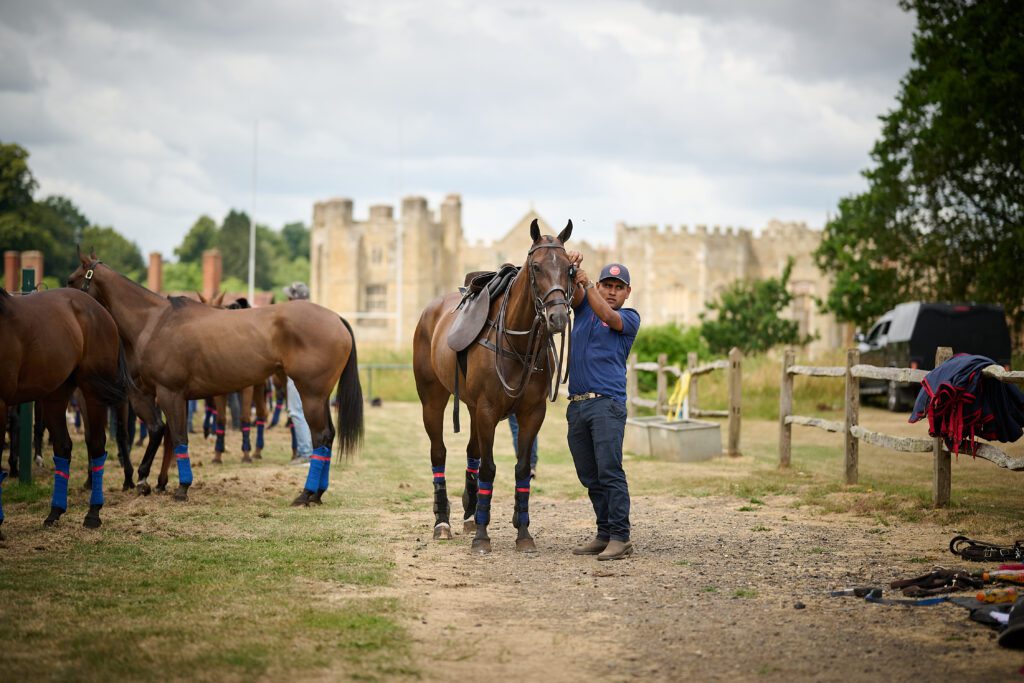
All the images in this post were taken at Cowdray Park Polo Club, in West Sussex, UK

Fabulous info. I’ve just got into polo as my partner plays and the experience at the Gold Cup semis last week was incredible. I had mostly arrived at your settings but was shooting f8 for the margin of error. Time to dial that one down a bit, your shots are incredible.